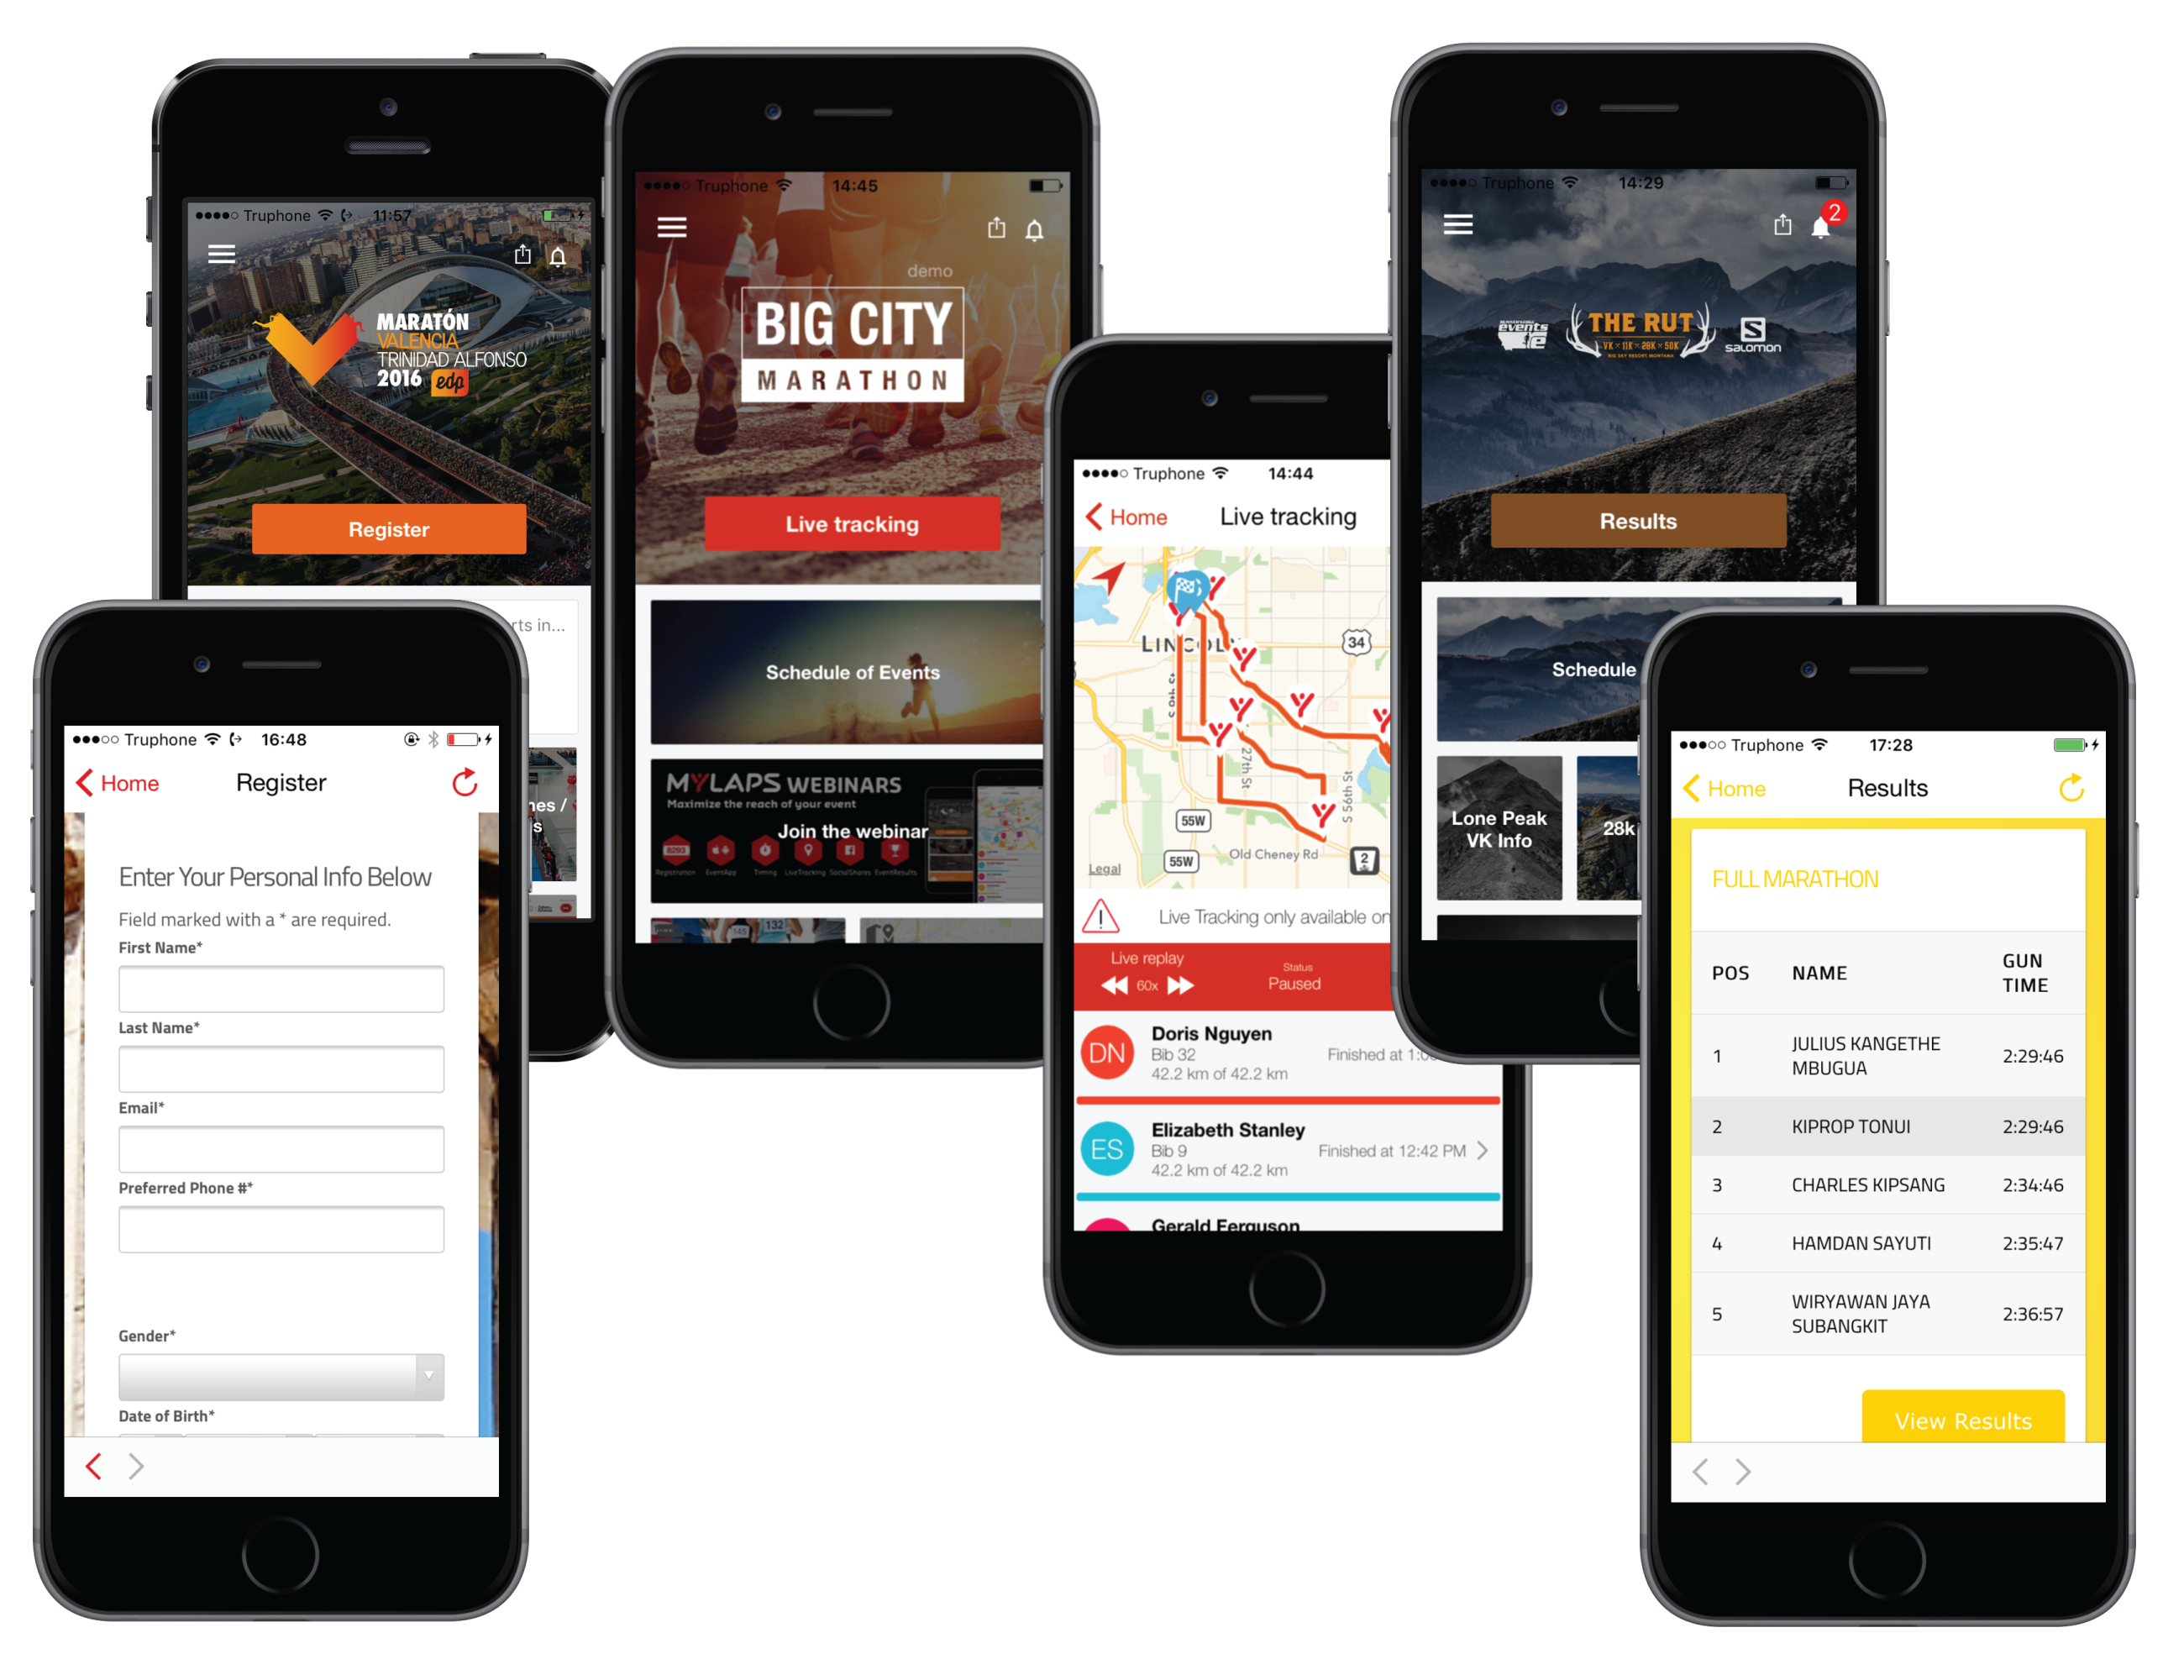
The call-to-action button can be found in the top header of the app. The dates and times define when the app switches from Register into Live tracking into Results.
When the Live tracking end date has passed:
- CTA will change to Results, this will only happen if there is a Sporthive results page linked to the app, or when there is a link available to an external results website. Config > Event Config > Results.
- The LiveTracking view in the app will change to replay mode, or when results are available on Sporthive, live tracking will display the official results posted on Sporthive.
- Leaderboard and LiveRanking will be hidden, so that users will be directed to the official results.
3) LiveTracking status message
1) Configure call-to-action
- Go to Config > Event Config.
- Click Call-to-action button tab.
- Add LiveTracking date ranges.
- Add Registration URL.
- Click Results tab.
- Add Results URL or ID & Token (T&S upload).
2) Customize call-to-action
- Go to Config > Event Config.
- Click Call-to-action button tab.
- Click Customize CTA button.
- Click Create new CTA button.
- Fill out your preferences. The custom button will be visible instead of the main call-to-action during the time range you specified.
3) LiveTracking status message
The status message will be shown below the course map in the LiveTracking screen of the app. This message can be used to inform users about data issues or LiveTracking delays.
- Go to Config > Event Config.
- Click Event Timeline.
- Add status message (short sentence).
- Verify status message in LiveTracking screen of the app.
![]()
4) Connect Results
- Go to Config > Event Config.
- Click Results tab.
- Add Results ID & Token, copy ID & Token from T&S or will be automatically populated if you set up your Sporthive Results page.
- Add URL to link to your own results platform.