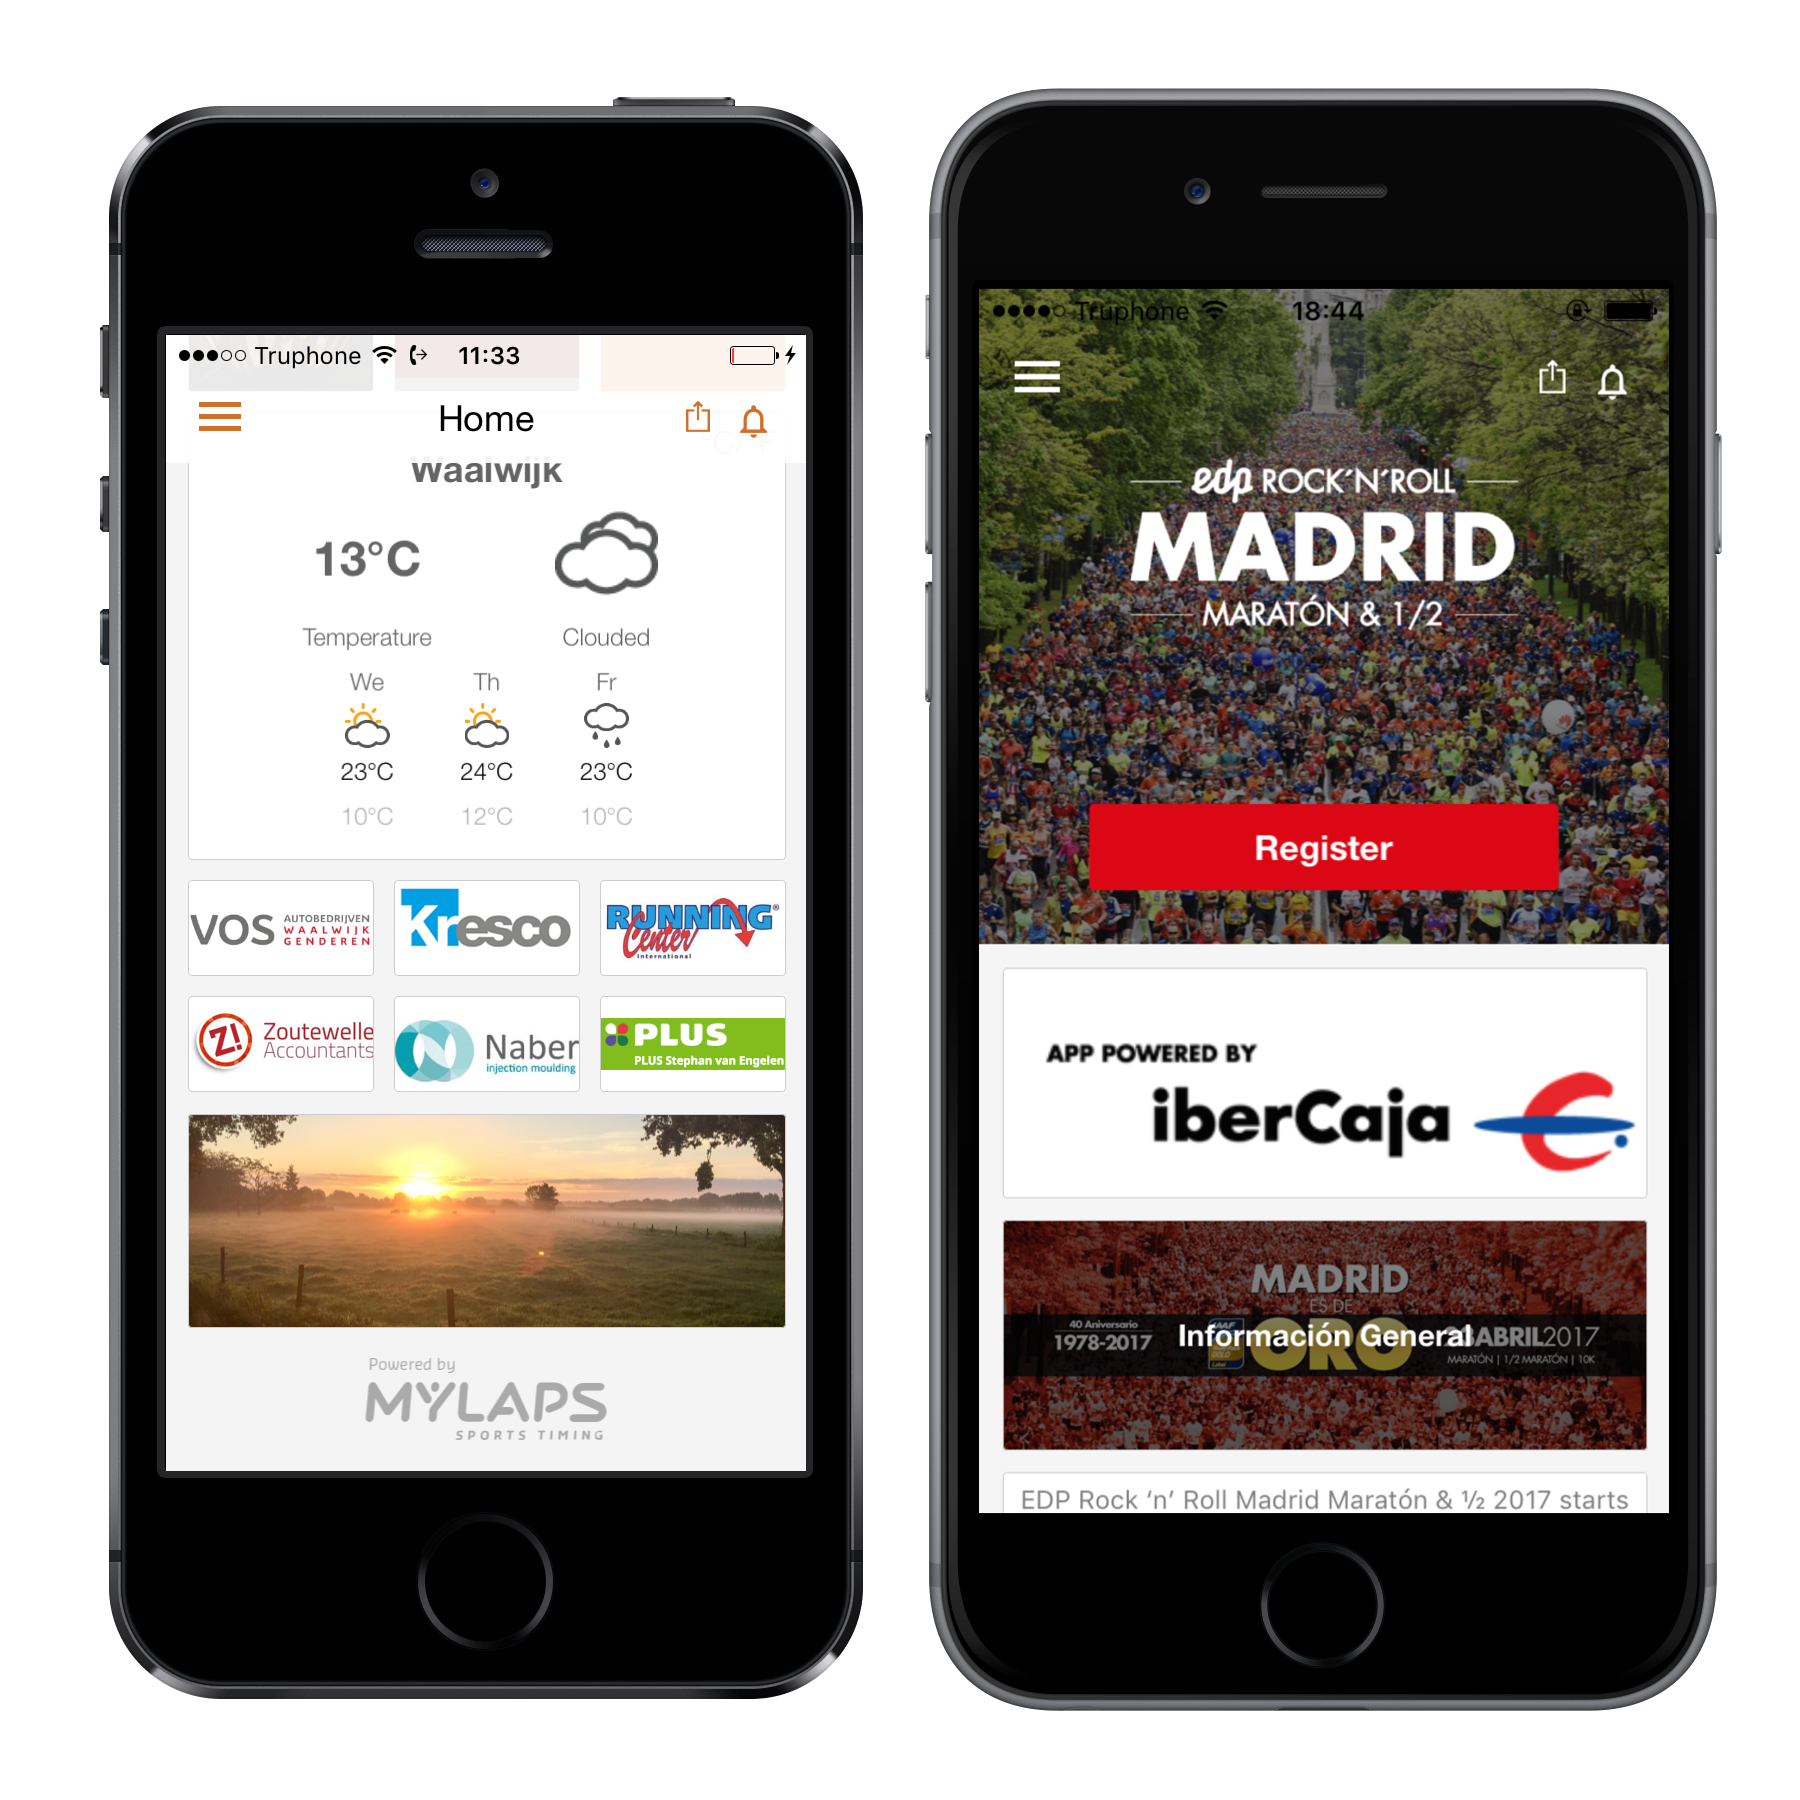
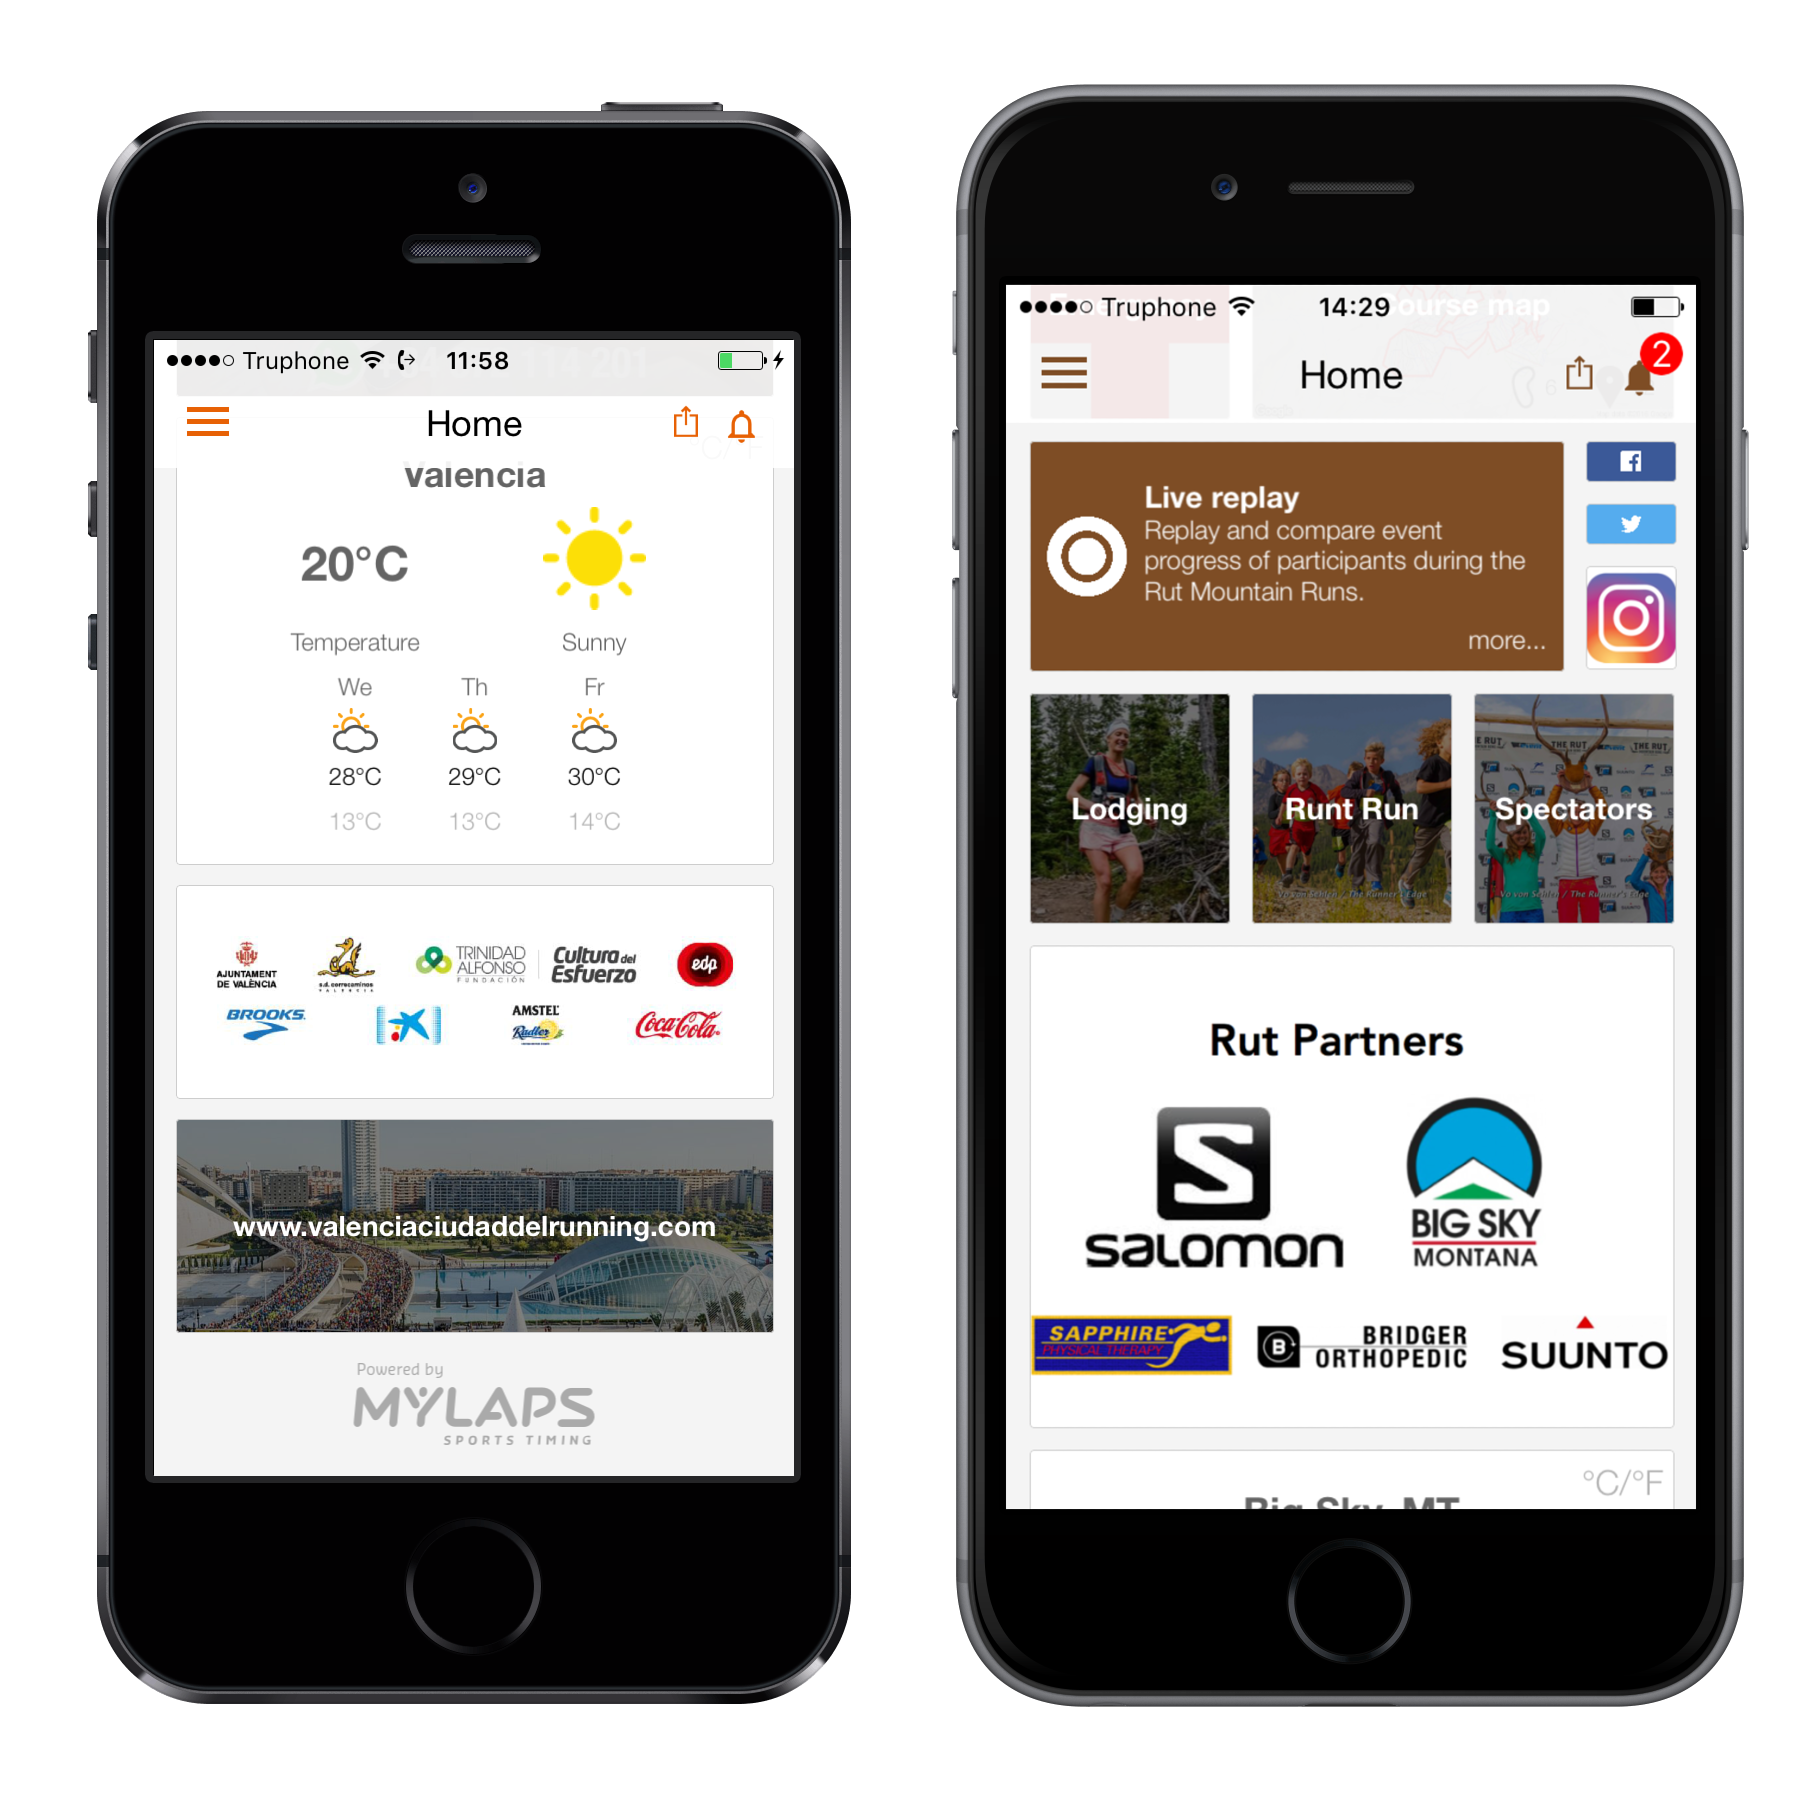
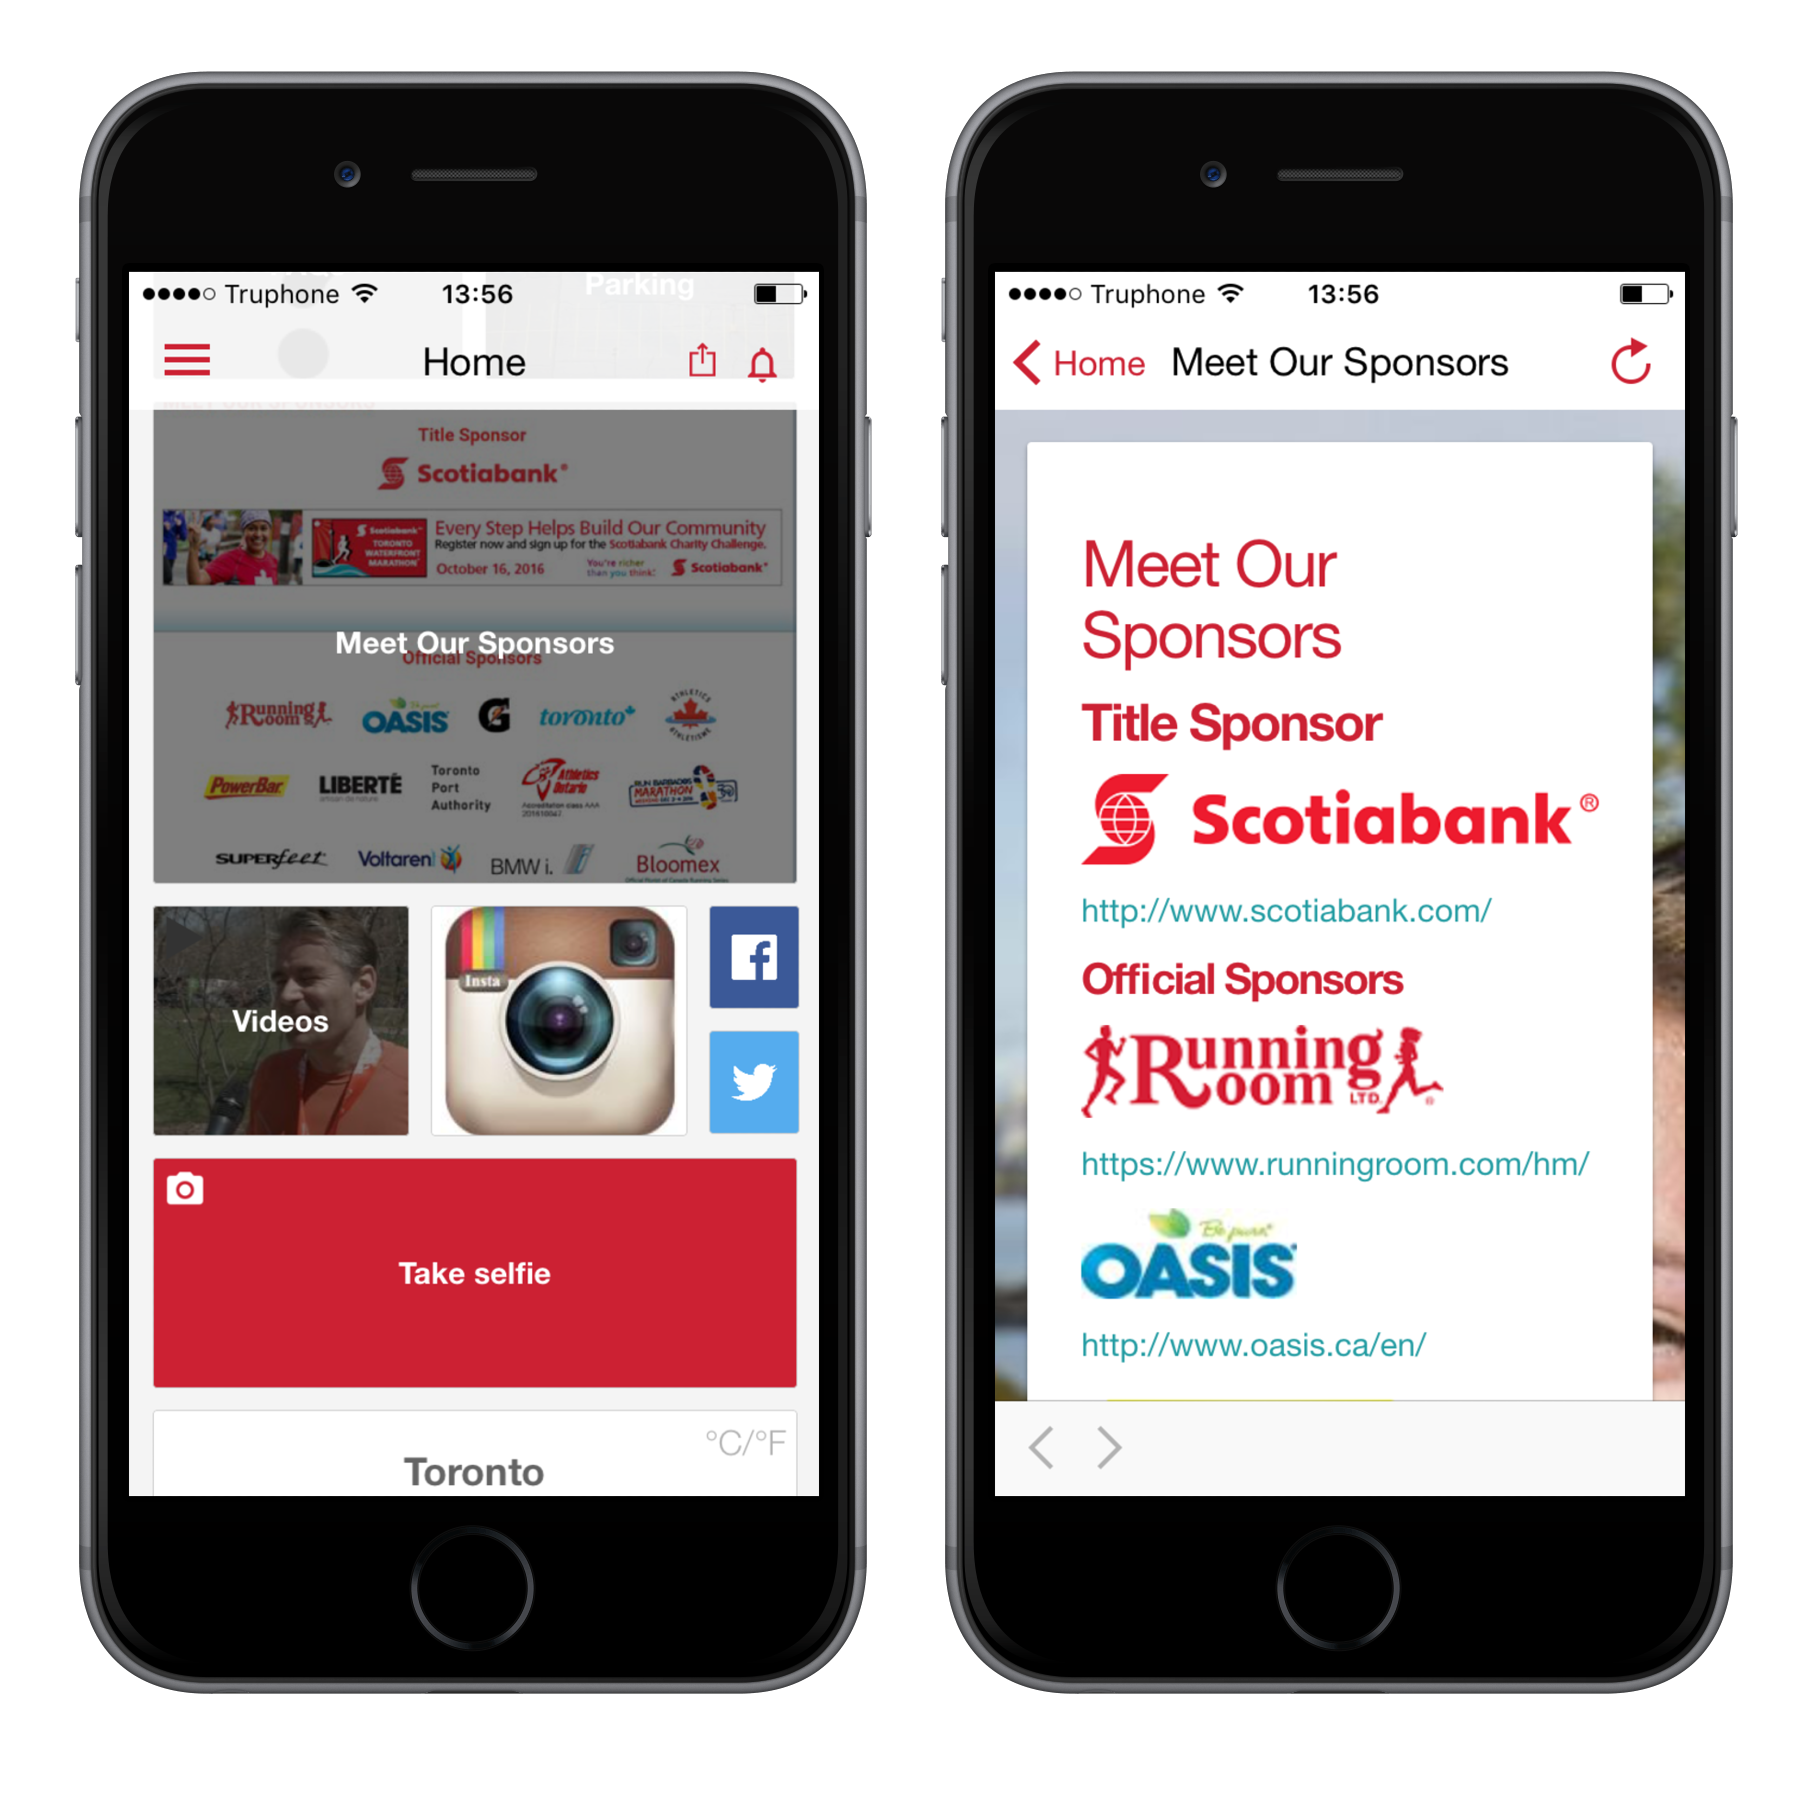
The following subjects illustrate Sponsor Activation; different tile options to get maximum reach to all race stakeholders; Athletes, Friends, Family, Spectators and all App Users.
1) Dedicated sponsor tile - each tile directs to sponsor website, or one single sponsor.
2) Multiple sponsor tile - tile directs to sponsor page on your own website.
3) Race related pages - tile directs to sponsor content page.
1) Dedicated sponsor tile

- Image dimensions: 12x4, 6x4, 4x4 or 2x2.
- Sponsor branded tile.
- Tile may direct to sponsor website.
- Tile may direct to content page.
- Size tile according to Sponsor level.
- Content include logo's pics, links, text, etc.
- No limit on number of sponsor tiles.
- Suitable for all sponsors.
- Audience - All App users.
- Go to Config > Tiles.
- Click Insert a tile > Custom Content.
- Choose your Tile Size and Tile Title.
- Add Website (url) or select Content Page (create content page first).
- Save the tile and open it again to drop the sponsor logo. Save and open it for a second time to Fit or Crop your image.
- Repeat this action for every sponsor you want to include in the EventApp.
2) Multiple sponsor tile

- Image dimensions: 12x4, 6x4, 4x4 or 2x2.
- One tile to accommodate multiple sponsors.
- Tile may direct to sponsor page on race website.
- Tile may direct to content page listing sponsors with info.
- Sponsor logo in page with link to website.
- Suitable for secondary and sponsors and partners.
- Audience - All App Users.
- Go to Config > Tiles.
- Click Insert a tile > Custom Content.
- Choose your Tile Size and Tile Title.
- Add Website (URL) or select Content Page (create content page first).
- Save the tile and open it again to drop the multiple sponsor logos. Save and open it for a second time to Fit or Crop your image.
3) Race related pages

- Race content pages.
- ''Brought to you by...'' race related sub events.
- Sponsor logo and branding atop event description.
- Logos, links, text, etc.
- Suitable for specific Sponsor tied to a sub event.
- Audience - All App & Web users.
- Go to Config > Content.
- Scroll down and drop your sponsor images.
- Copy photo ID (below image).
- Click Create new page.
- Choose your Slug name and Page title.
- Paste photo ID in content and save your content page.
- Create tile and instead of directing it to a website you now select your content page from the dropdown.